How to Set Up the Canon R Picture Style for Beautiful Photos Right Away
 Therfilm Studio

I’ve noticed that many of you are using Canon’s R series and have been asking how to set up the Canon R Picture Style to take better photos. Picture Styles are preset settings that only affect JPEG files and are designed for specific situations where users want to achieve a particular look in their photos. This article will help you set up a Picture Style that suits your needs.
Mục Lục
How to set up the Canon R Picture Style for great photos right away
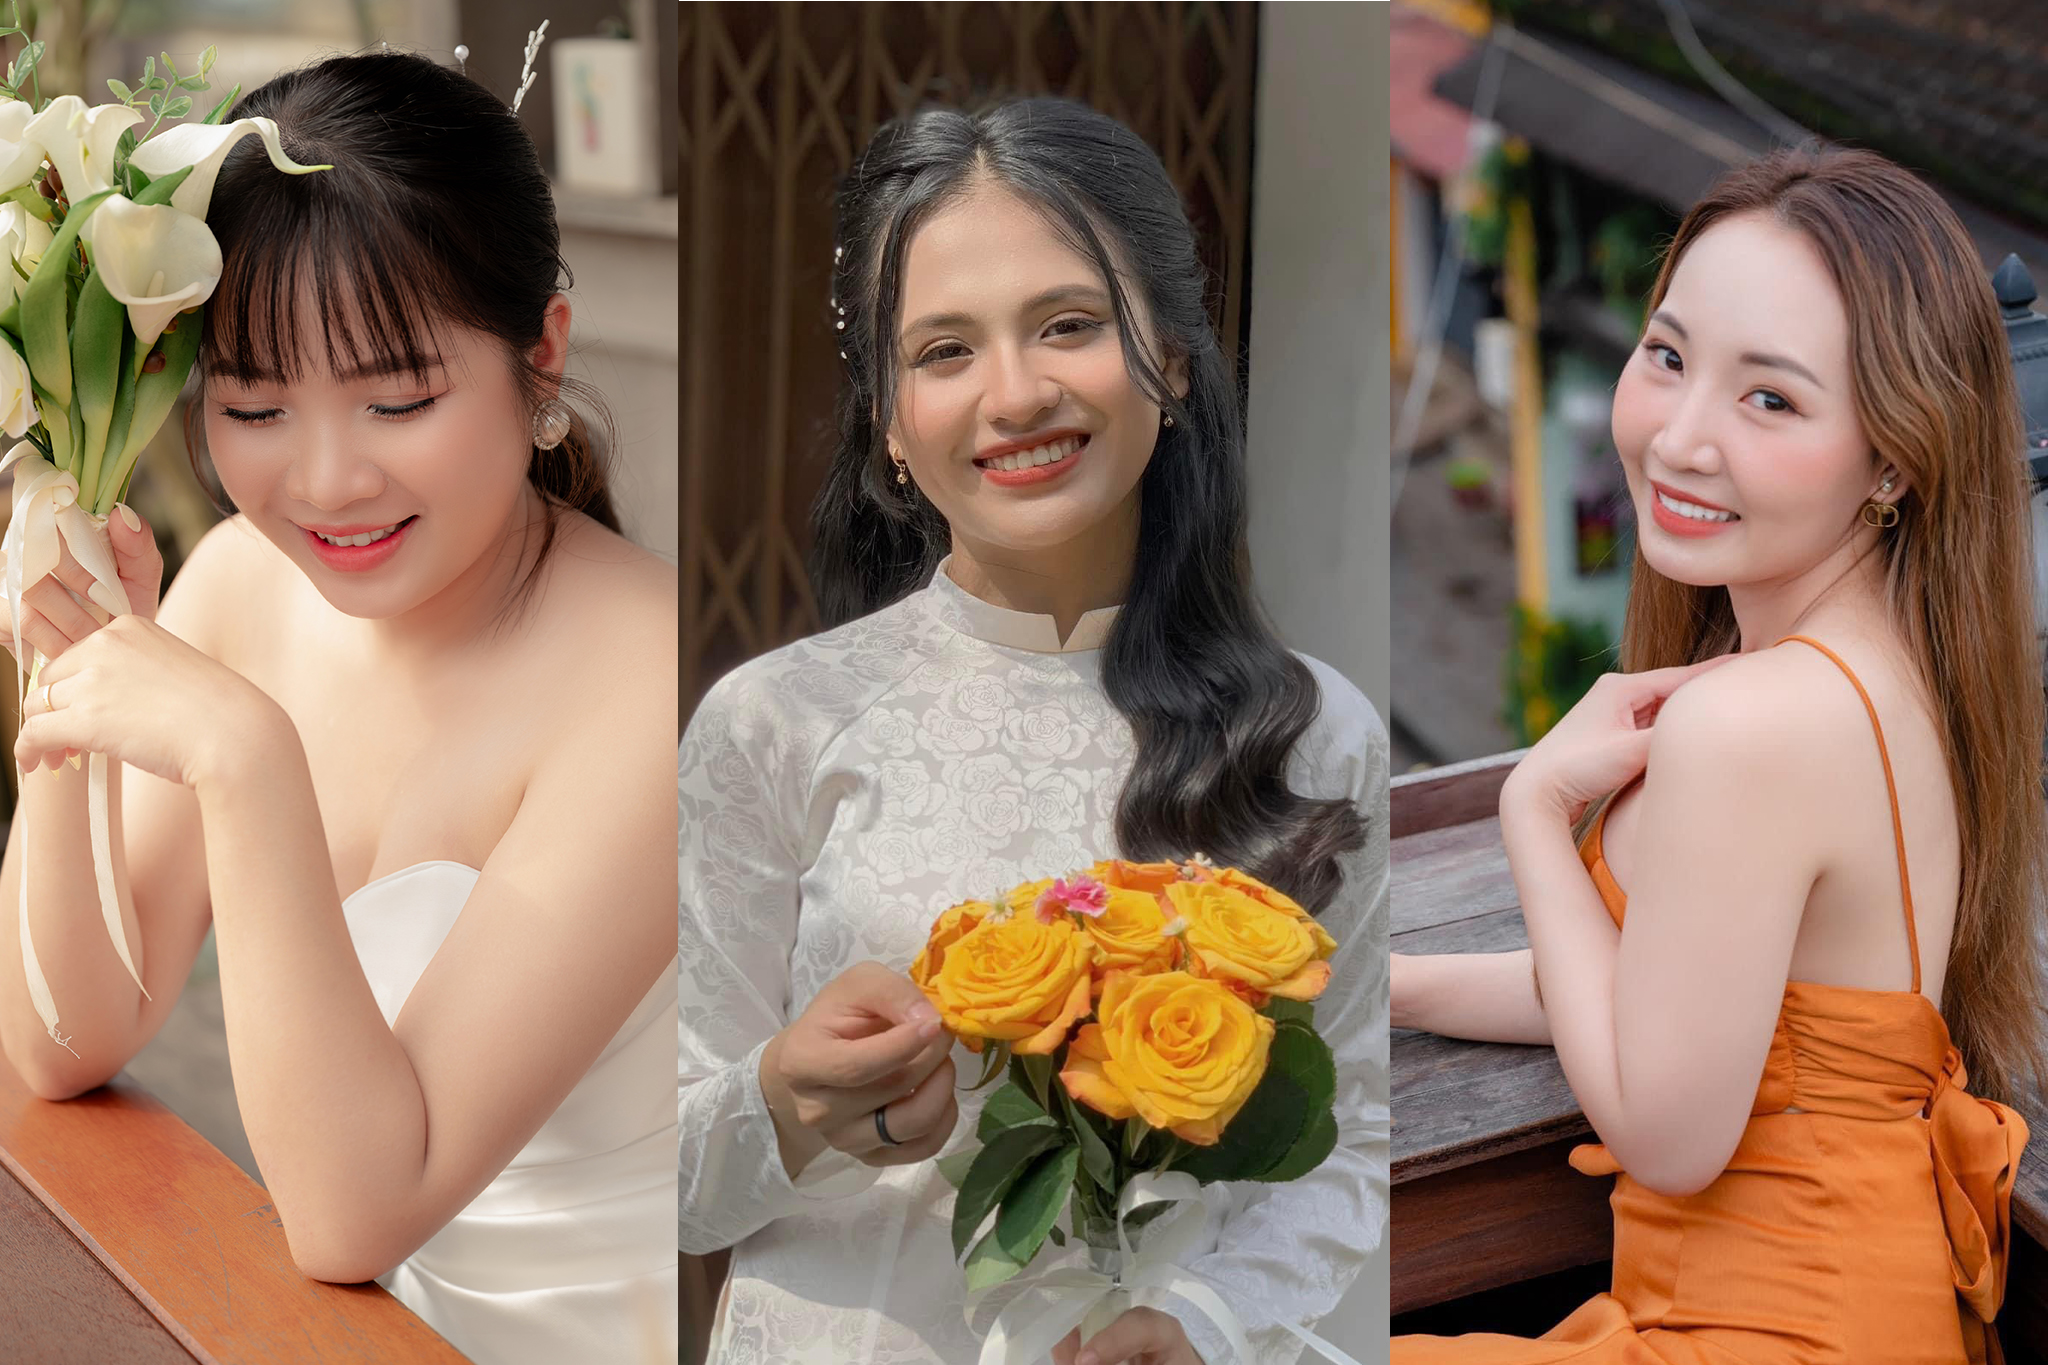
People often praise Canon for its portrait photography, which produces rosy, flattering skin tones. However, when taking photos, the skin can sometimes appear too pink or too yellow. After some trial and error, I’ve gained a bit of insight. Today, I’d like to share this in the hope it will be helpful to those who frequently shoot in JPEG.
3 important settings Canon R users should pay attention to:
- Canon R Picture Style
- White Balance
- WB Correction
Set up the Canon R Picture Style for photos that look great right out of the camera
First, go to the camera’s settings → Camera menu → Option 4 → Picture Style
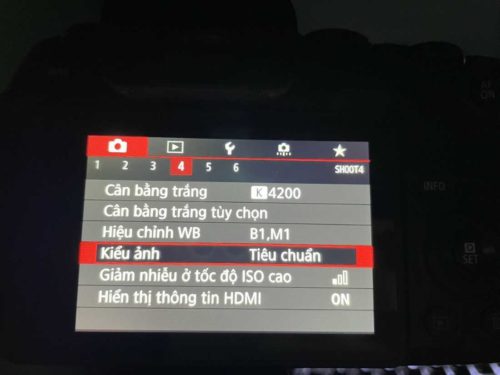
Tap on Picture Style to access the menu shown below. Here, you’ll find many pre-set Picture Style options available on the camera. However, we’ll focus on the standard settings. Tap the Info/Detailed Settings button in the lower-left corner.
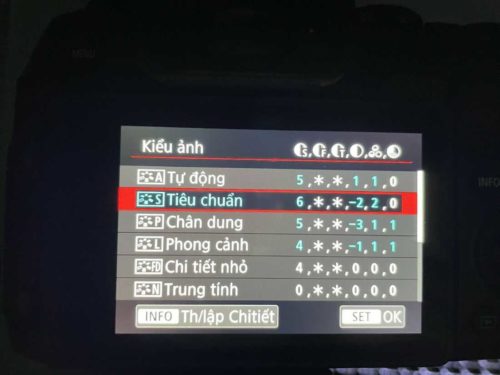
There are four settings to focus on: brightness, contrast, saturation, and hue

Set the brightness to +6
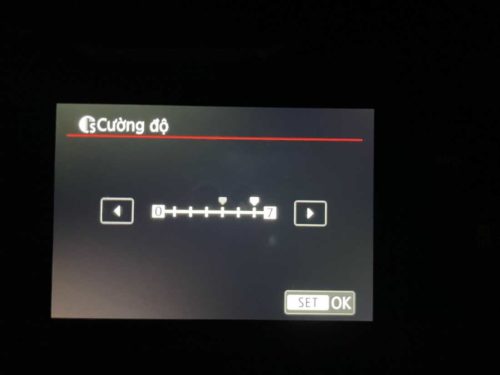
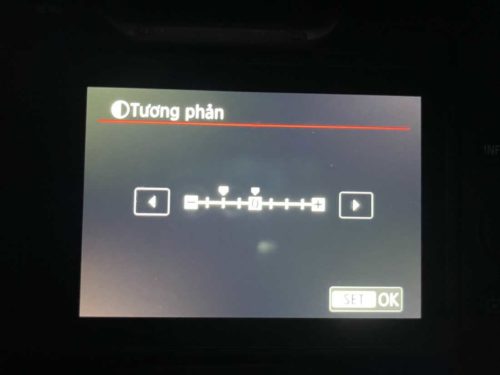
Set Contrast to -2 to make the image less harsh, with softer tones and smoother transitions!
Adjust Color Saturation to +2 to make the colors in the photo more vibrant and eye-catching
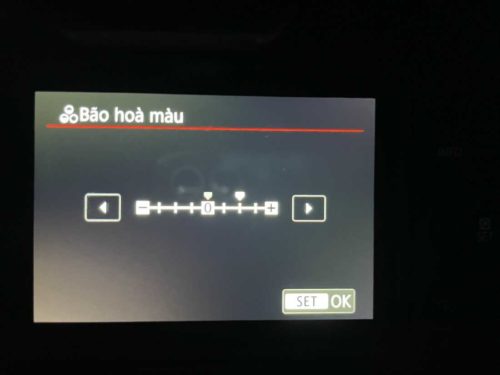
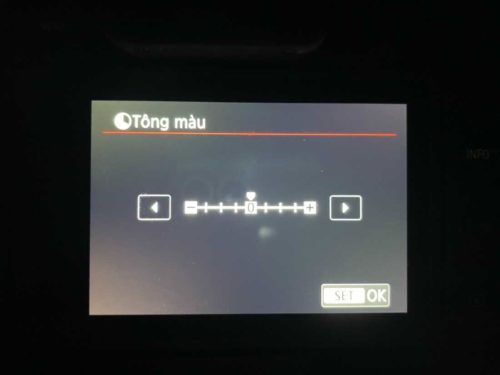
Leave the color tone as is. If you want the skin to have a reddish-pink hue, move the slider to the left; if you want a yellowish tint, move it to the right. Settings may vary depending on personal preference.
White Balance
I usually shoot portraits with a color temperature (K) between 4500 and 5300. Lowering the K value gives the photo a cooler tone (blueish), while increasing it gives a warmer tone (yellowish).
For portraits, I usually prefer a cool color tone. For cameras without a Kelvin setting, or when shooting indoors under artificial lighting, I select “Auto.”

WB correction
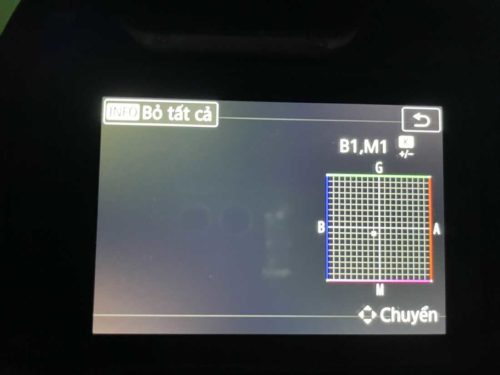
There’s a square with four colors along its edges. The initial origin point is 0, 0. This gives you additional customization options for white balance (WB). You can adjust the photo’s color cast by moving the slider toward the corresponding color edge.
As shown in the image, I’ve given the photo a blue tint and added a hint of pink to achieve a cool color tone and make the model’s skin appear pink. This adjustment should also be tailored to the specific shooting environment.
The above is how I set up the Canon R Picture Style, which I’ve used in most of my shooting situations. I hope this article is helpful for those using the Canon R and Canon RP models, and that it can be applied to other Canon camera models as well.
See also: Guide to updating the latest Canon R firmware
For more information, please contact:
- Address: Hoi An City – Quang Nam Province & Son Tra District – Da Nang
- Phone: 0962307312
- Email: therfilmmedia@gmail.com
- Website: www.therfilm.com